Archaeological Illustration: Practicing Shading and Texture Work
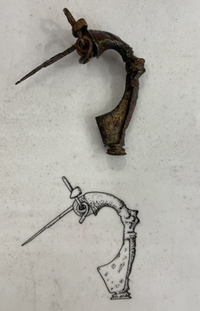
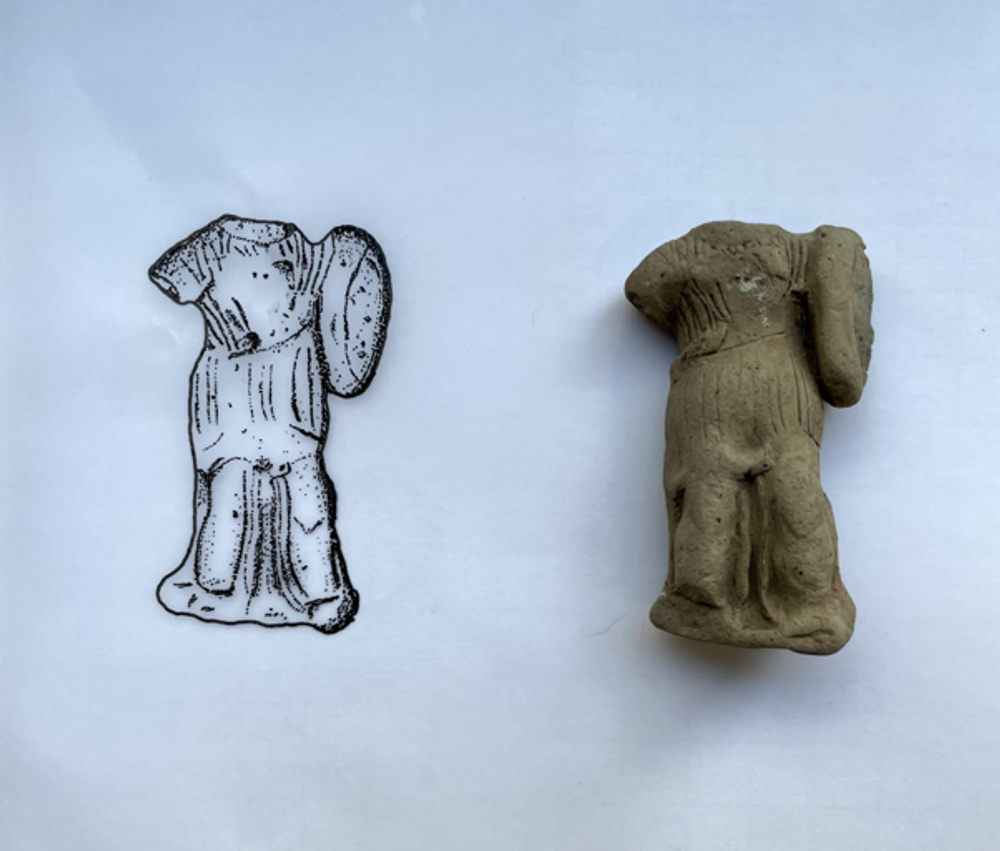
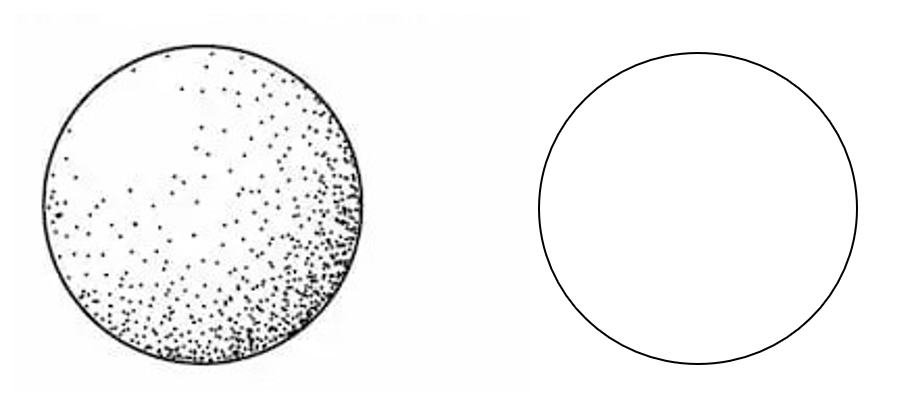
In archaeological illustration, shading is often created by using small dots made with the very tip of your pen rather than large strokes - this is known as stippling. This technique is mostly used on pottery, metal or bone, or similar small find artefacts; lithics can be different (see below for further information).
In order to highlight and contrast, illustrators will place the dots either closer together or further apart, depending on where there are grooves, indents, missing sections, relief or recesses.
Stippling allows the artist to convey a sense of volume, without implying the presence of a particular texture to the surface of the object. By making the dots either more or less condensed, you can show gradients as to where the object has any grooves, indents, bumps or engravings. This is known as a style or convention, meaning everyone who uses or observes archaeology illustrations will know what the stippling has been used to convey about the object.
When creating shade, it is another artistic convention to assume that your source of light is coming from the top left corner.
Get Practising!
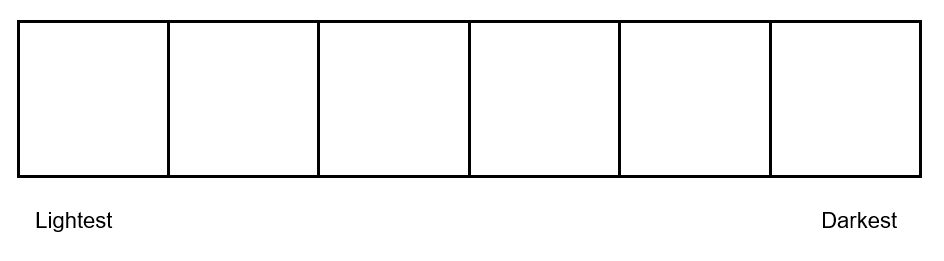
In the six boxes below, gradually increase the shading as you go along. Like this example:
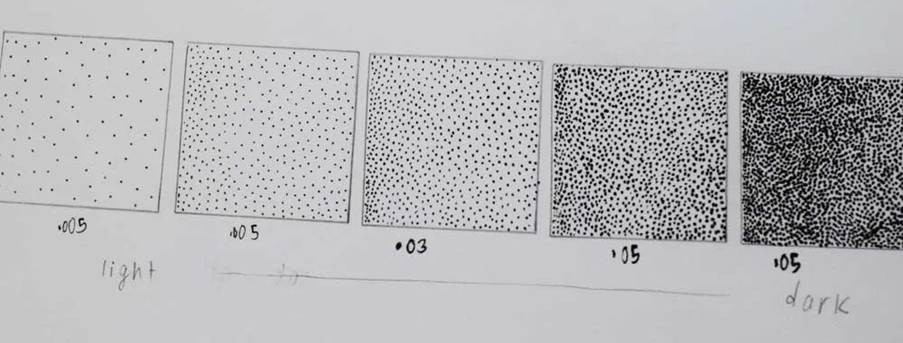
Now try it yourself! You can download the images below to print them or sketch them out yourselves:
Now, try it on a sphere. Remember, to imagine that the upper left side is where the light is coming from.
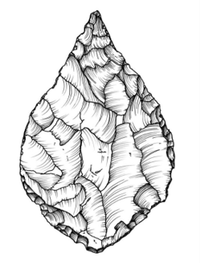
In comparison, when illustrating lithics (e.g. stone tools), lines are usually used as this allows you to more accurately capture the direction in which way the flake was struck from the core. Like this example:
You can still use the stippling technique, but this is primarily for areas which have not been flaked off. As you can see in the image above, sweeping lines are used to highlight the direction in which the flakes were knapped, known as ‘ripples’, telling us a unique story about the craftspeople who made these tools.
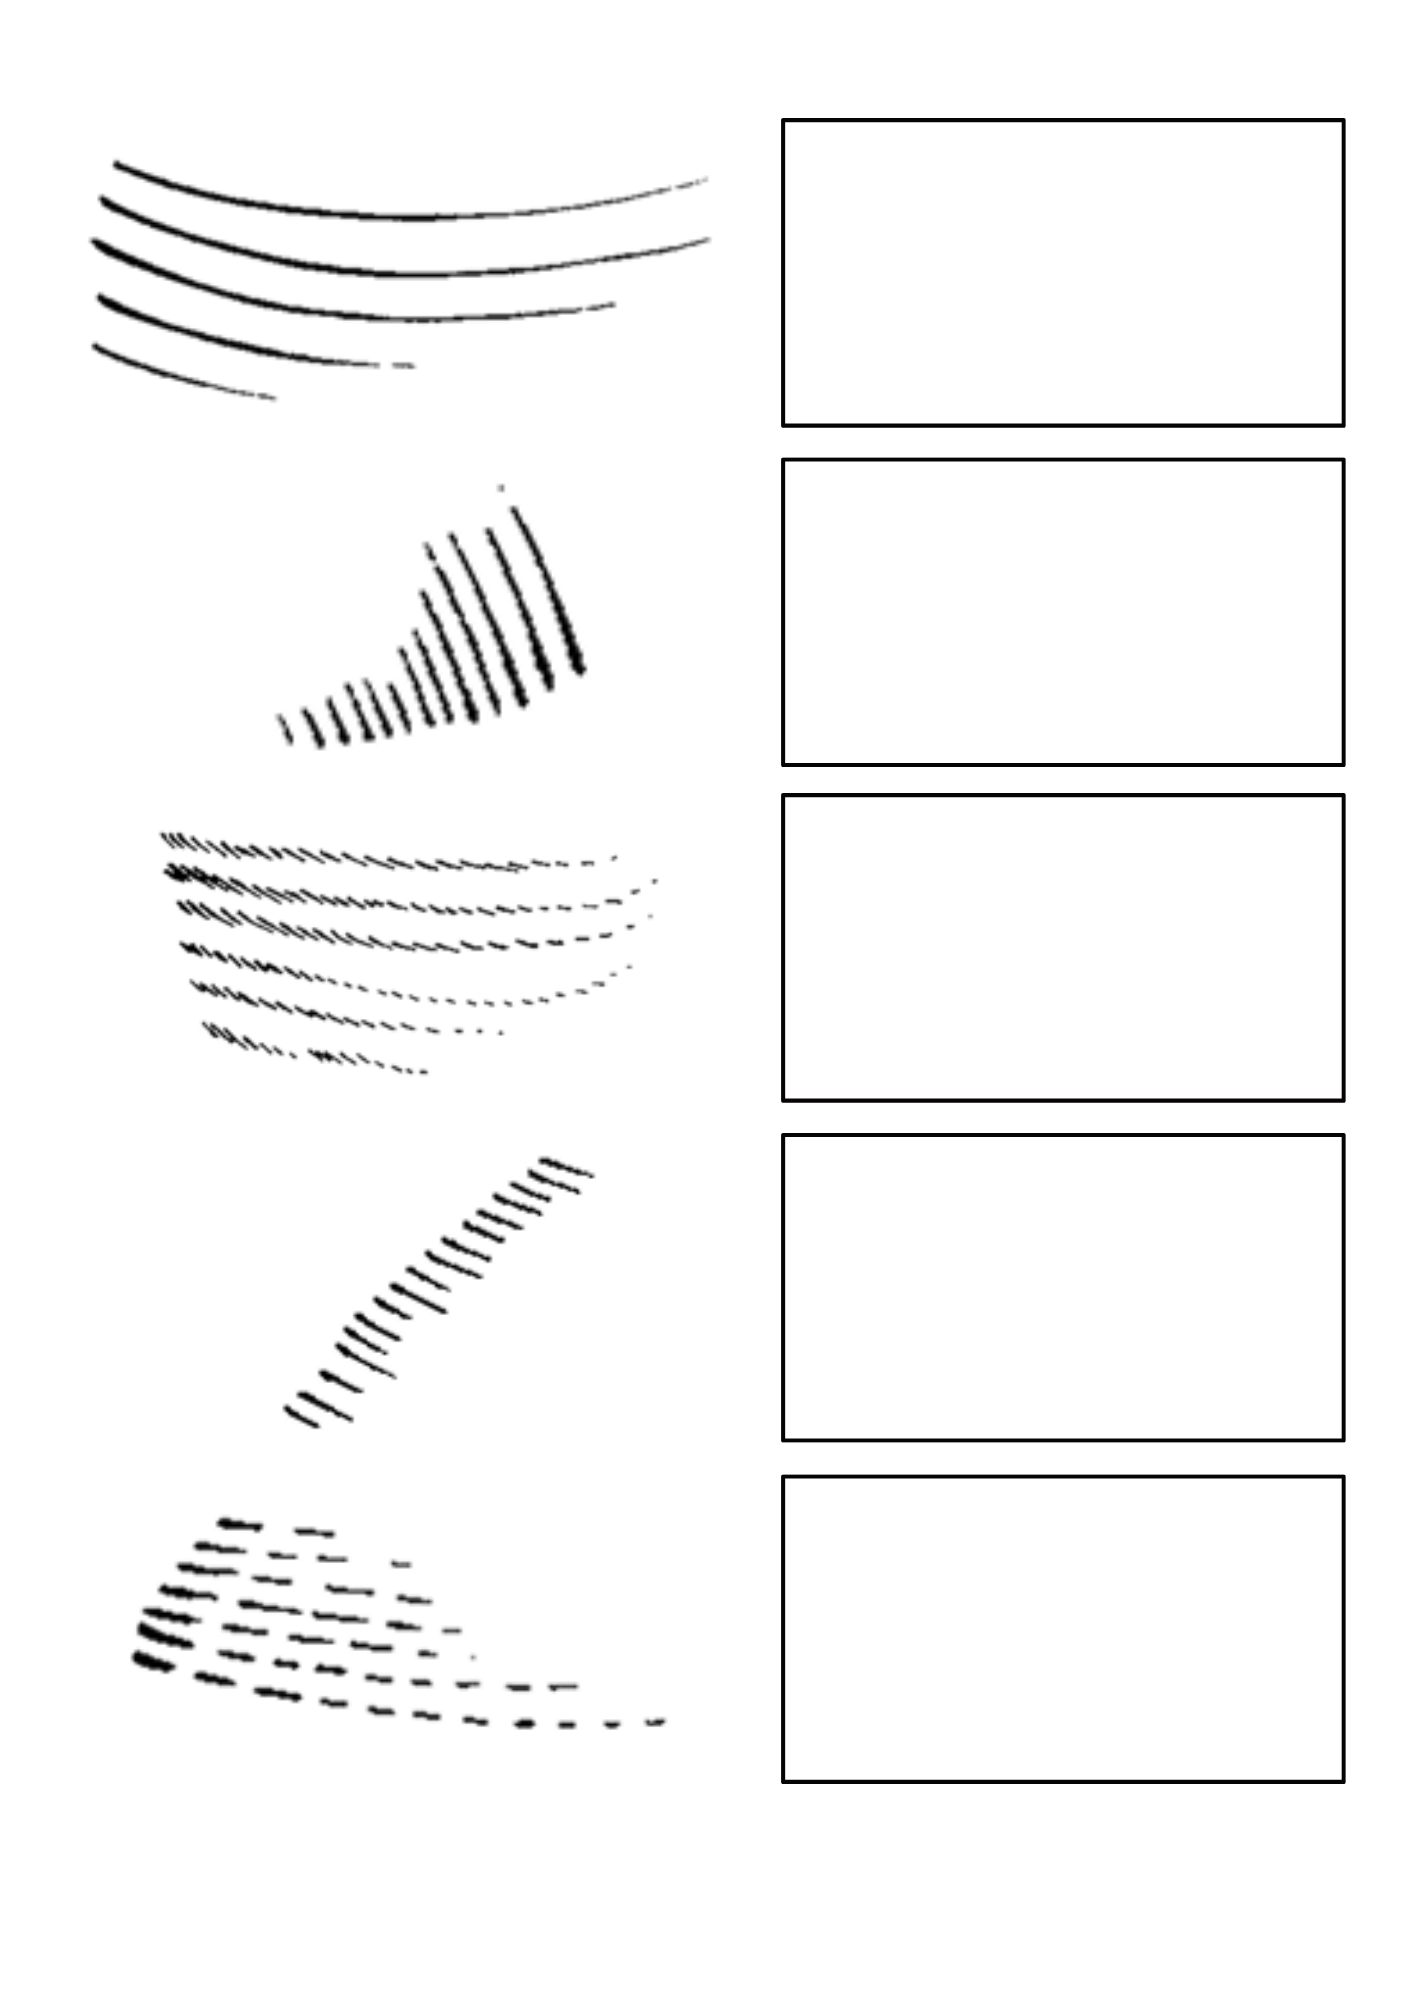
There are five types of lines used for creating this flake removal effect on a drawing. The more broken and jagged lines would be used on stone rather than flint, to suggest a coarser and more uneven surface. Using your drawing tool of choice, practice replicating these techniques (images from Martingell and Saville 1988).